Architectural Lighting Design vs Lighting Control: Understanding the Difference for Your Home
Architectural lighting design determines where light goes and how it looks. Lighting control determines how you adjust it, combine it, and recall it. One shapes the visual character of a room; the other makes that lighting practical to use throughout the day.
These are complementary disciplines, not competing alternatives. A beautifully illuminated staircase can still feel awkward if its controls are poorly placed. An elegant keypad cannot correct a pendant that creates glare or an accent light aimed away from the artwork.
An architectural lighting control system works best when fixture selection, lighting layers, wiring, wall controls, and scenes develop together. Understanding those relationships helps homeowners, architects, and interior designers make decisions before walls and finishes limit the options.
Lighting Design vs Lighting Control: A Side-by-Side Comparison
| Decision | Architectural lighting design | Lighting control |
|---|---|---|
| Primary question | What needs illumination, and what should the room feel like? | How will people select and adjust that lighting? |
| Core elements | Fixture placement, light distribution, color appearance, glare, and relationship to materials. | Dimming, zones, keypads, scenes, schedules, sensors, and compatible integrations. |
| Typical planning documents | Lighting layouts, fixture schedules, aiming notes, and architectural details. | Control-zone schedules, keypad layouts, button labels, wiring requirements, and scene descriptions. |
| Common shortcoming when considered alone | Beautiful lighting that requires too many separate adjustments. | Convenient operation of lighting that does not flatter the room or support its activities. |
| Shared decisions | Fixture compatibility, independent lighting layers, dimming expectations, installation details, and final adjustments in the finished home. | |
The distinction is useful when reviewing proposals. A fixture plan does not necessarily include scene programming, and a controls proposal does not necessarily include lighting design. Compare the planned deliverables and responsibilities, not just the equipment lists.
Architectural Lighting Design: Creating the Visual Result
Placement and light distribution come before automation
Lighting design begins with the architecture and the activities within it. Where will someone prepare food, read, entertain, or move between rooms? Which surfaces deserve emphasis? Where could a visible light source interrupt a view?
In a hillside living room with expansive glazing, the design discussion might include reflections in the glass after dark. In a stone-clad hallway, it might focus on whether the intent is even illumination or a more dramatic expression of texture. These are questions of placement, direction, and light distribution, not software.
Fixture appearance is only part of the decision. A discreet recessed fitting and a sculptural pendant may both suit the interior, yet perform entirely different jobs. Evaluate what each fixture illuminates from the positions where people will sit, stand, and move through the room.
Layers give a room depth and purpose
Architectural lighting commonly combines three layers:
- Ambient lighting establishes the room’s general illumination through sources such as indirect coves or selected downlights.
- Task lighting serves a defined activity, such as working at a kitchen counter or reading beside a chair.
- Accent lighting draws attention to art, shelving, planting, or architectural surfaces.
A decorative fixture may contribute to more than one layer, but it rarely addresses every lighting need on its own. A dining pendant, for example, can illuminate the table while leaving adjacent artwork and circulation areas in need of separate lighting.
Lighting Control: Making the Design Easy to Live With
Zones determine what can change independently
A control zone is a group of lights that responds together. Separating kitchen pendants, counter lighting, and ceiling lighting into distinct zones allows each layer to serve a different purpose.
This is where design and control become inseparable. If several layers are grouped together without independent control, programming alone may not be able to separate them later. Conversely, making every fixture individually adjustable can add complexity without improving the experience.
A practical test is to ask: “Would there be a reason to change these lights independently?” If the answer is yes during dining, reading, entertaining, or cleaning, that distinction belongs in the controls plan.
Scenes combine settings into a useful experience
A scene recalls a set of lighting levels across selected zones. Rather than adjusting several dimmers individually, a person selects a named setting such as Dining or Evening.
Scenes and automation are not the same thing. A scene defines the lighting settings; automation determines whether an event, such as a schedule or sensor input, activates those settings without a button press. A home can have excellent scene control without extensive automatic behavior.
Compatible lighting controls can also coordinate with motorized shades. For example, an evening setting can combine interior lighting with shade positions for privacy. Planning that interaction early helps align the desired experience with the fixtures, shades, and control platform.
Which Matters More? Start With What Is Not Working
Excellent design with limited control
A room may have beautifully selected fixtures and carefully placed light, yet require a row of switches and several manual adjustments to achieve the intended atmosphere. The visual result is possible, but accessing it feels unnecessarily involved.
Here, the priority is organizing the lighting into understandable zones and scenes, within the capabilities of the installed fixtures and wiring. Replacing fixtures may add little if the real problem is how the room is operated.
Advanced control with weak lighting design
A sophisticated interface cannot redirect a poorly positioned beam or create a missing task-lighting layer. Dimming an uncomfortable source may make the room darker without making it more useful.
Here, fixture selection and placement deserve attention first. Adding automation before resolving the visual problem risks making an unsatisfactory result easier to recall.
Coordinated design and control
A coordinated plan connects each important lighting effect to a clear way of operating it. Not every room needs extensive programming. A guest bedroom may benefit more from straightforward bedside controls than from a long menu of scenes.
The objective is not maximum functionality. It is the right amount of control for the architecture and the people using it.
An Open-Plan Room: The Difference in Practice
Consider a kitchen, dining area, and living room sharing one continuous space. The lighting design includes counter lighting, island pendants, dining illumination, concealed ambient lighting, and accents on artwork.
The controls plan can translate those layers into several distinct settings:
- Cooking: Counter lighting takes priority, with surrounding illumination that keeps the kitchen visually connected to the room.
- Dining: The table becomes the focus, while kitchen task lighting recedes and selected background accents remain visible.
- Entertaining: Multiple seating areas receive balanced light rather than allowing one bright zone to dominate.
- Cleaning: A brighter, practical setting illuminates surfaces across the space without requiring individual adjustments.
These descriptions establish the purpose of each scene, not universal presets. Final levels depend on the fixtures, finishes, furnishings, and homeowner preferences. Reviewing scenes in the completed space matters because a setting described on paper can feel different against actual stone, wood, fabric, and glass.
Reducing Wall Clutter Without Hiding Essential Control
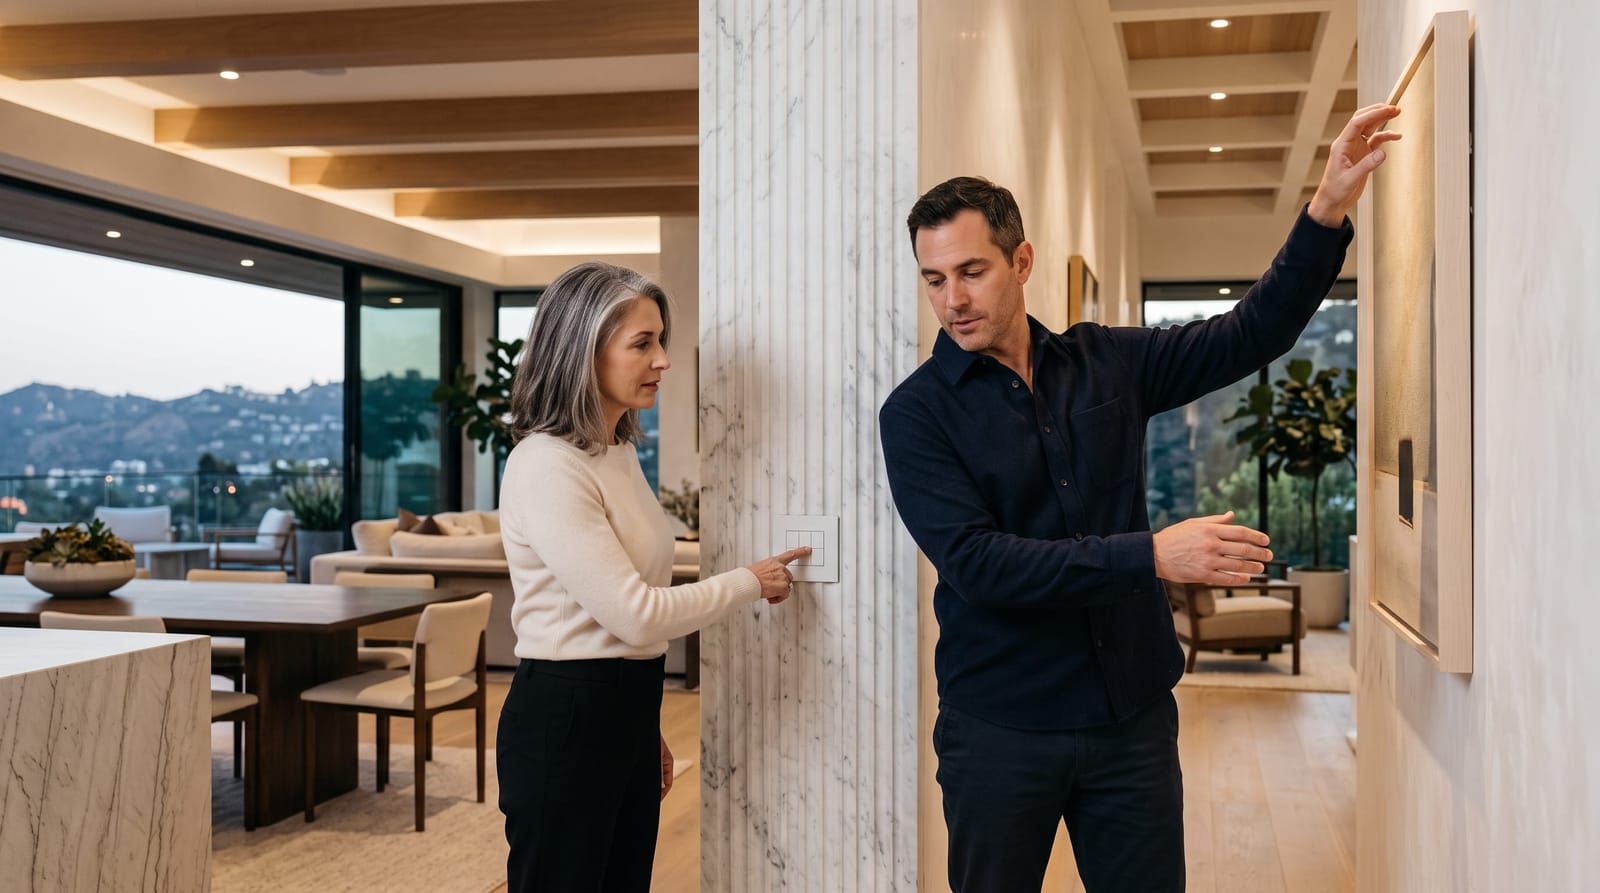
Replacing a long bank of switches is partly a controls decision and partly an architectural coordination task. A keypad can provide access to several scenes from one location, but its buttons still need a clear purpose.
Centralized systems place lighting-control equipment in dedicated panels. Distributed systems keep more control components near the fixtures or switches they serve. Hybrid systems combine both approaches. The choice depends on construction access, equipment compatibility, space for servicing, and the desired wall appearance.
Before approving keypad layouts, review:
- Arrival points: Can someone establish useful lighting when entering the room?
- Labels: Do names such as Dining or Terrace describe an obvious result?
- Everyday adjustment: Is raising or lowering the light straightforward?
- Guest use: Can a visitor operate the room without a phone or explanation?
- Scope: Is it clear whether a button affects one room or a larger area?
The goal is fewer decisions, not simply fewer buttons. Our discussion of reducing light-switch clutter in a luxury home explores this distinction further.
Where Design and Control Need to Meet Before Installation
Fixture selection and dimming expectations
“Dimmable” does not mean compatible with every controller. The fixture’s associated electronics, dimming method, and selected controls need to work together.
For visually important spaces, a demonstration of the proposed fixture-and-control combination is useful. Observe how low the light dims, whether transitions appear smooth, and whether matching fixtures behave consistently. This makes performance easier to assess than a specification alone.
White-light appearance and scheduled changes
Brightness and white-light color are separate decisions. Dimming changes light output; independently adjusting between warmer and cooler white requires fixtures and controls designed for that purpose. Some fixtures become warmer as they dim, but that does not provide independent control of brightness and color.
If scheduled color changes are part of the plan, define the desired appearance at different times of day and how someone can override the schedule. Our overview of circadian lighting home automation provides related context. Evaluate these features as environmental preferences, not promised health outcomes; questions about how lighting relates to your personal health belong with a licensed medical professional.
Project responsibilities and final tuning
Each stage needs a clear owner: documenting the lighting intent, reviewing compatibility, coordinating installation, programming scenes, and adjusting the finished result. A shared project brief connects those responsibilities across the lighting designer, architect, electrical contractor, and technology integrator.
At Smart Homes Innovations, based in Van Nuys, we tailor lighting control to the homeowner’s routines, with customized scenes and controls designed to reduce wall clutter. Architectural plans, fixture selections, interior finishes, and descriptions of daily activities give that work a practical foundation.
Include a finished-room review in the project scope. Scene levels and keypad labels are easier to evaluate when the furnishings are in place and the homeowner can move through the space as they normally would.
New Construction vs an Existing Home
New construction provides an opportunity to coordinate lighting groups, equipment space, wiring, and keypad positions before walls are finished. It is also the time to coordinate concealed lighting details with ceilings, cabinetry, and window treatments.
In an existing home, start with an inventory of the fixtures, how they are grouped, which controls they support, and where installation access is practical. Wireless communication can reduce the need for new control wiring, but fixture compatibility and existing circuit layouts still shape the options.
For a renovation, explore wireless lighting control options for an existing home before assuming either a complete rewire or a simple device replacement is necessary. Separate essential changes from optional refinements so the scope addresses the rooms and activities that matter most.
What to Settle Before Choosing a System
Begin with the desired experience in each room, then document the lighting layers, independent zones, essential scenes, and preferred control locations. Establish responsibility for fixture compatibility and final tuning alongside those decisions.
This produces a more useful basis for comparing proposals than a feature list alone: what the room will look like, how it will operate, and what work is included to bring those two outcomes together.