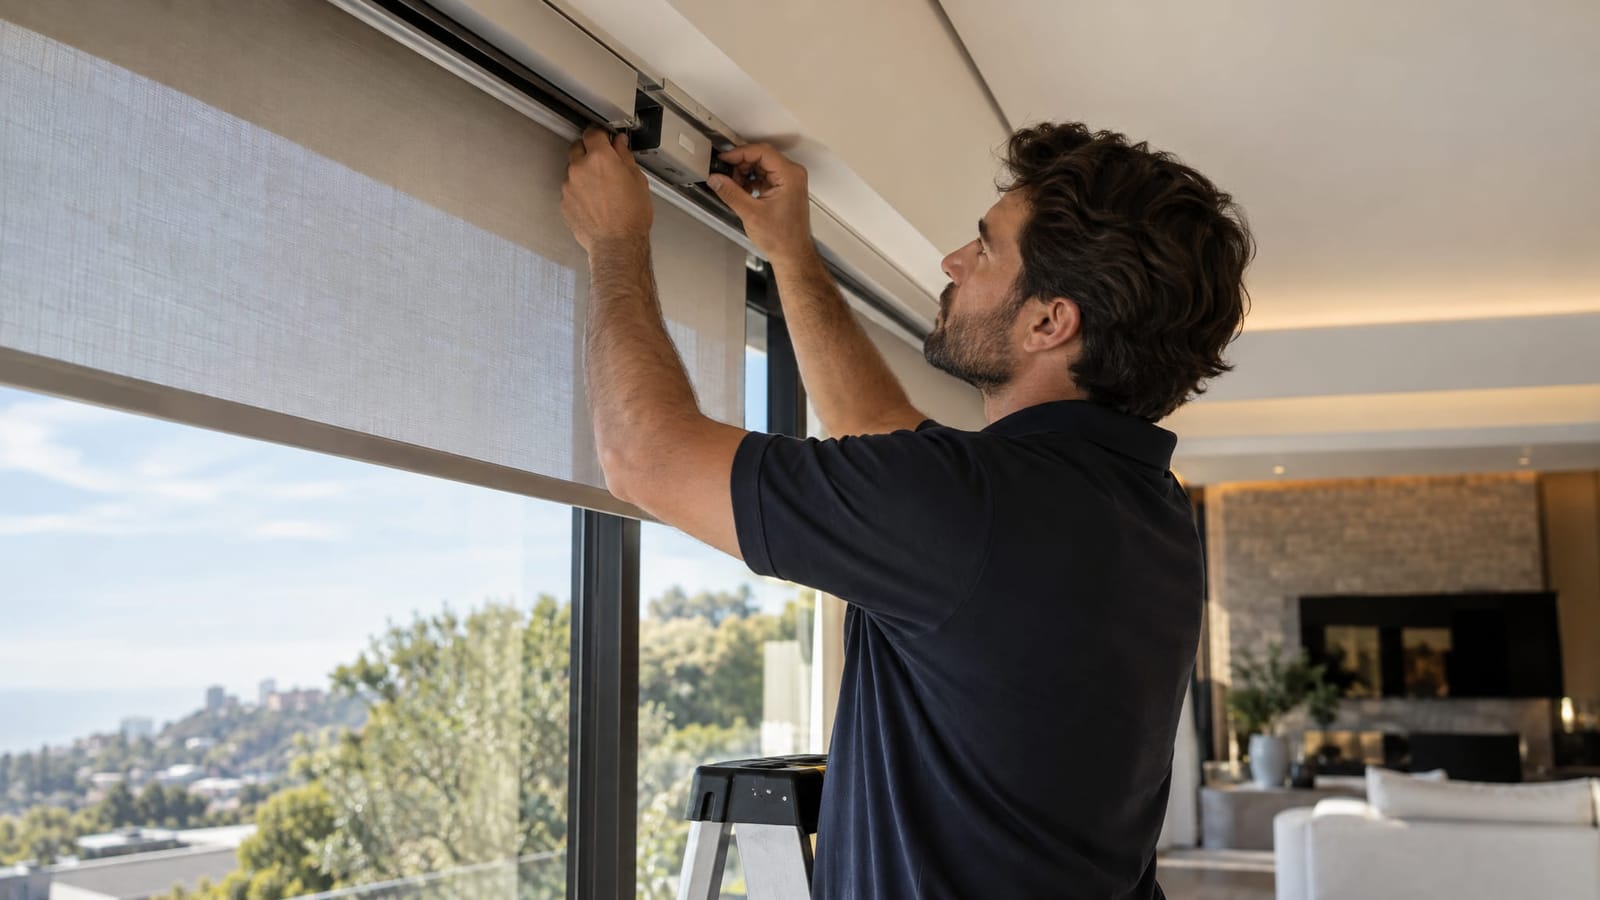
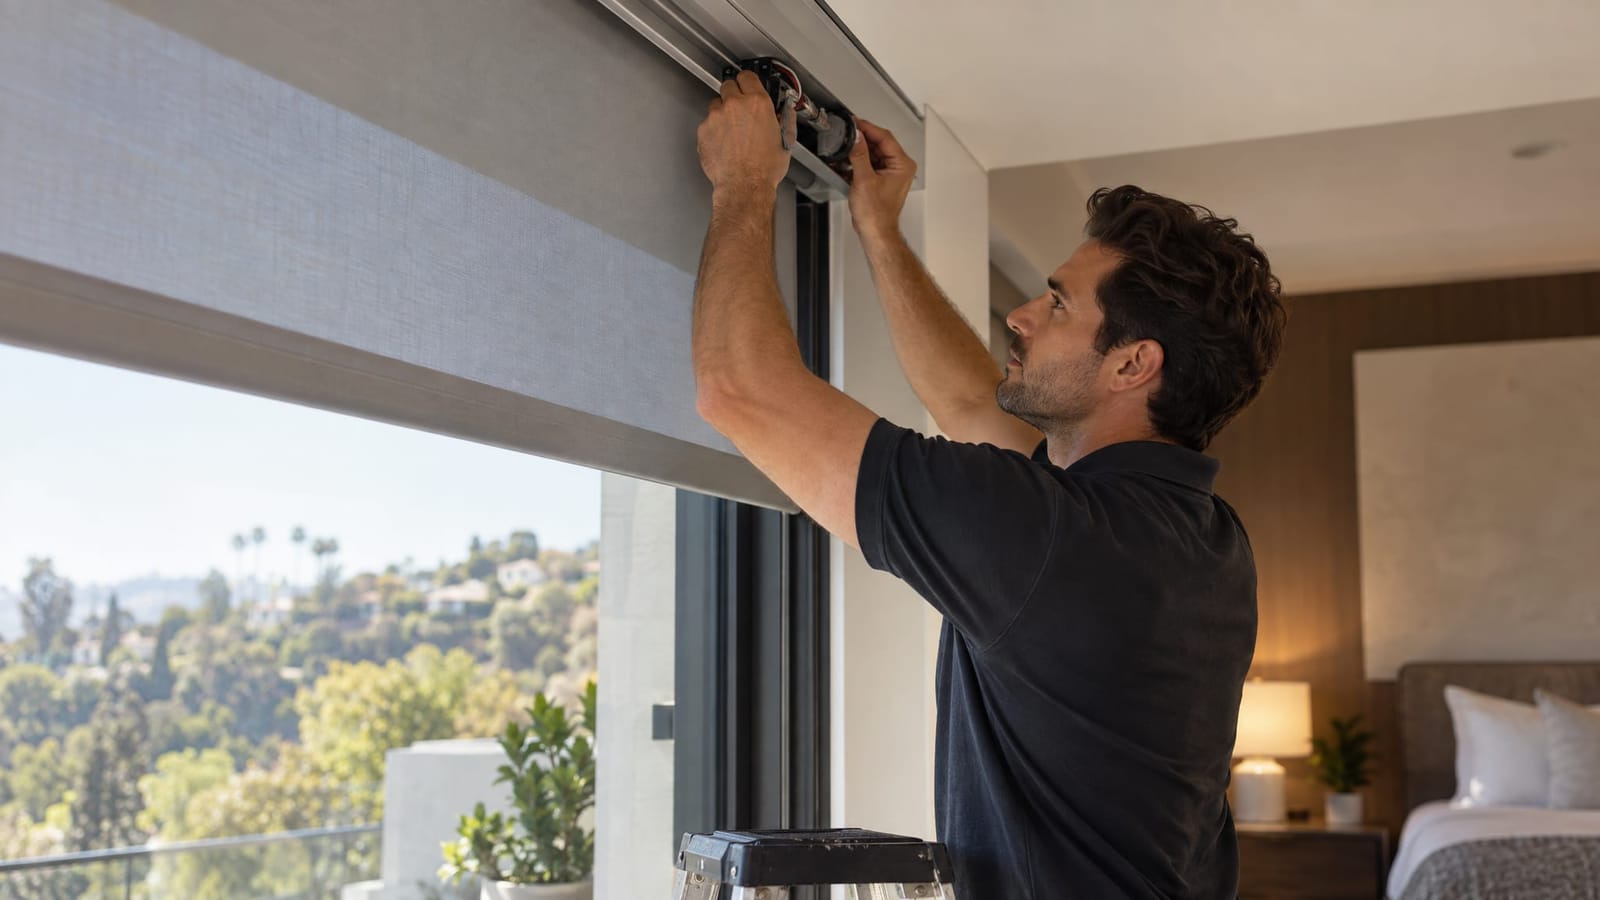
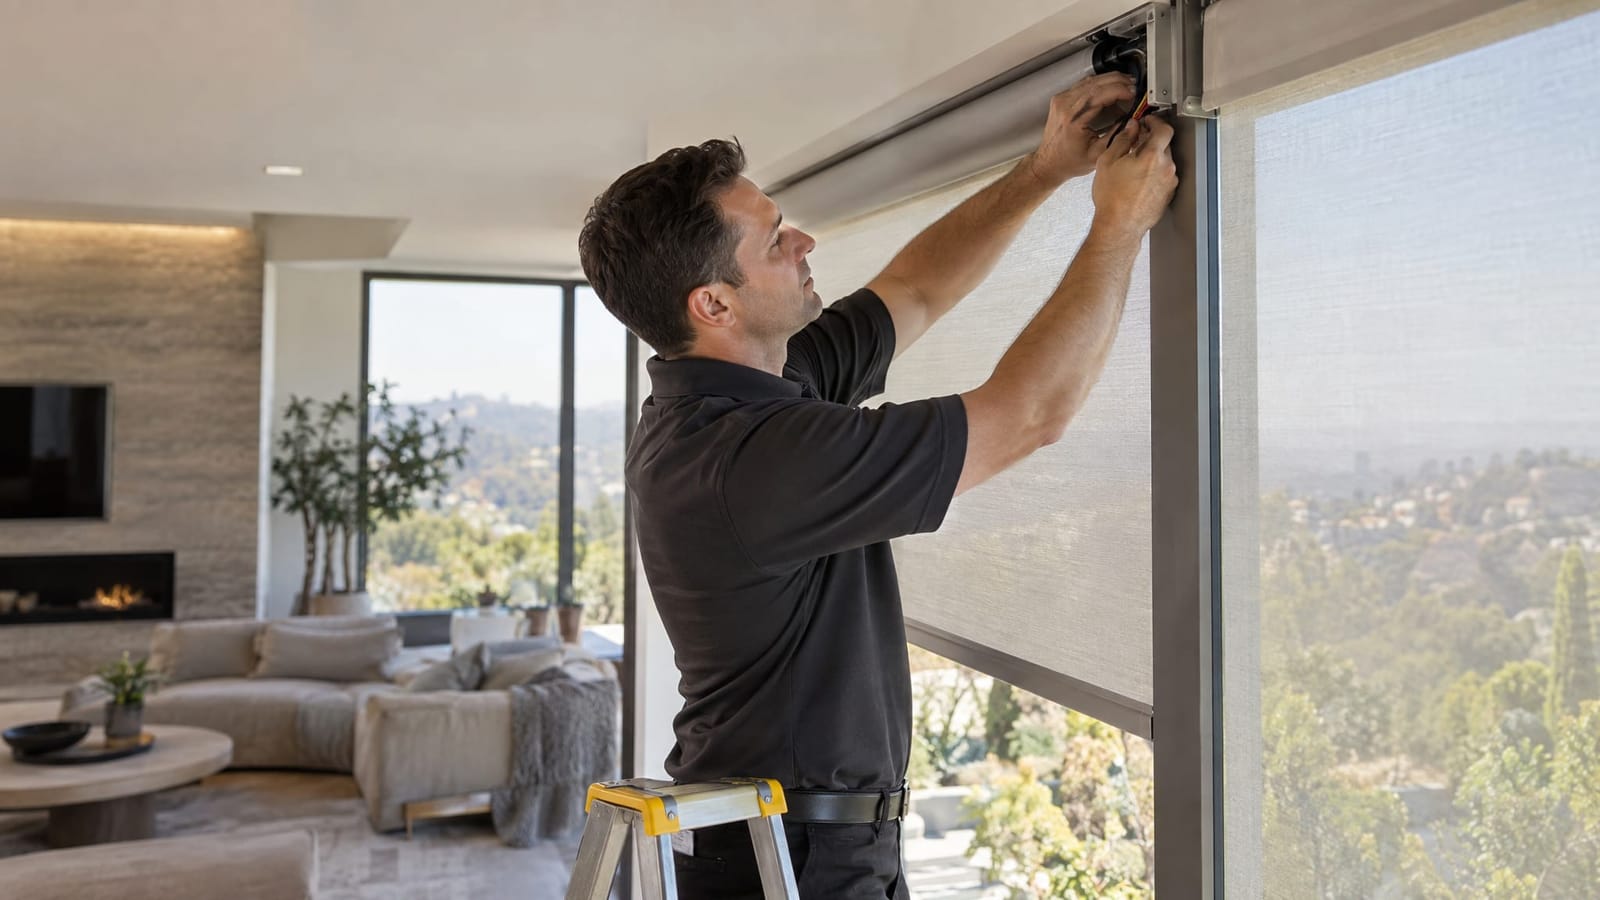
Motorized Shades for Home Theaters: Blackout Solutions and AV Integration
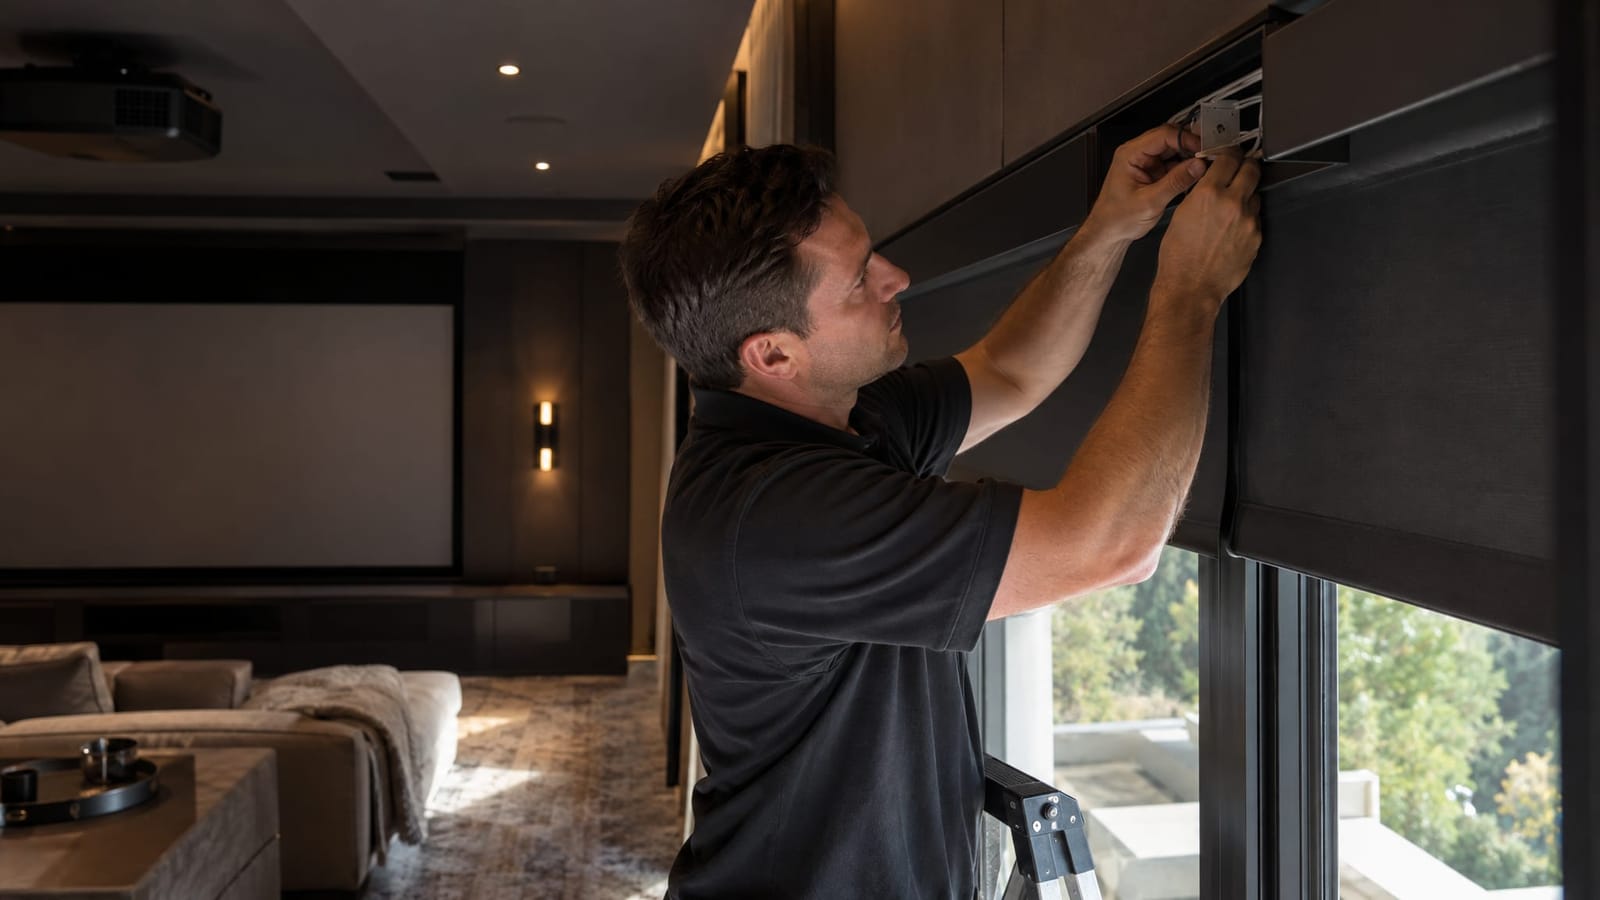
For a home theater, motorized blackout shades work best as a complete light-control system: opaque fabric, carefully managed edges, and controls coordinated with the display and lighting. Blackout fabric alone does not eliminate light around the shade, and motorization alone does not make it respond to a projector or TV.
The right approach depends on the room. A dedicated projection theater benefits from comprehensive darkness. A living room with a television may need glare control for everyday viewing and a separate blackout setting for films. Here is how to plan both the window treatment and its integration without compromising the architecture.
Step 1: Define the viewing conditions
Start with the screen and the times the room will be used. Ambient light falling on a projection screen reduces perceived contrast, making dark scenes look washed out. A television can be more practical in a brighter room, although reflections and direct sunlight can still interfere with viewing.
Evaluate each window from the seating positions during the intended viewing hours. Note light that reaches the screen, reflections visible to viewers, and bright openings beside or behind the display.
- Dedicated projection theater: Plan for blackout at every window, along with control of light entering through adjoining spaces.
- Multipurpose media room: Separate a comfortable daytime setting from a darker movie setting.
- Open-plan living space: Account for windows beyond the immediate seating area. Closing one shade may leave another light source in view.
This assessment determines whether the project needs complete window blackout or more selective control.
Step 2: Choose fabric for opacity, not just color
Blackout and room-darkening fabrics serve different purposes. A blackout fabric blocks light through the material itself. A room-darkening fabric reduces incoming light but may still glow in strong daylight. Solar screen fabrics preserve varying degrees of outward visibility, so they are not a substitute for an opaque layer when darkness is the goal.
A dark-colored fabric is not automatically blackout. Conversely, a light-colored decorative face can be part of an opaque construction. This allows the room-facing finish to complement plaster, millwork, upholstery, or wall coverings without making the window treatment visually heavy.
Compare samples against daylight rather than judging them only under interior lighting. For wider openings, review the proposed shade divisions and any seams: the arrangement needs to address both the visual composition and potential light paths.
Step 3: Treat the edges as part of the blackout system
The most important distinction is between blackout fabric and a blackout window assembly. A roller shade can use fully opaque material and still admit bright lines of light around its perimeter.
Review all four edges:
- Top: A suitable enclosed headbox or light-blocking pocket detail can address light passing above the roller.
- Sides: Side channels designed for blackout applications can contain the fabric edges and limit lateral light leakage.
- Bottom: The bottom rail needs an appropriate meeting surface or closure detail at the sill or floor.
- Between shades: Adjacent rollers create another potential gap that needs its own treatment.
An inside-mounted shade can appear neatly contained within the window recess, but roller hardware leaves clearance around the fabric. An outside-mounted shade with generous overlap can reduce direct light at the edges, yet overlap alone is not equivalent to an enclosed system.
For a dedicated theater, assess the complete assembly rather than relying on the fabric label.
Step 4: Coordinate the installation with the room design
Recessed shade pockets can keep the roller discreet, but their dimensions need to accommodate the selected hardware, fabric roll, and service access. Side channels also need space within the window detail. Planning these elements before finishes are complete avoids treating them as decorative afterthoughts.
Resolve the power route, control connections, and motor access alongside the ceiling and millwork drawings. For existing rooms, a surface-mounted enclosure may be a more practical choice than opening finished construction.
At Smart Homes Innovations in Van Nuys, we offer motorized shades, lighting control, and home theater design and installation. Coordinating these systems brings the window treatment into the same planning conversation as the screen, lighting scenes, and room finishes.
Step 5: Connect shade movement to the viewing experience
A compatible, programmed control system can close the shades when a projector or television activates. The important decision is whether every display activation should trigger darkness, or whether shade movement belongs to a dedicated viewing scene.
For a dedicated theater, projector activation may be the appropriate trigger. In a shared living room, automatically closing every shade whenever someone turns on the news can feel intrusive.
A more deliberate arrangement separates the experiences:
- Daytime TV: Close only the shades needed to manage glare and leave the rest of the room open to daylight.
- Movie: Lower the blackout shades, select the viewing source, and adjust the lighting as a coordinated scene.
- Intermission: Raise selected interior lights while keeping the shades closed.
- Finish: Restore a chosen lighting setting, with shade reopening controlled separately or conditioned on the time of day.
Compatibility matters at the control-system level, not simply because each device has an app. The selected shade controls, AV equipment, and automation platform need a supported way to communicate.
Keep a clear manual override through a keypad, remote, or other preferred interface. Our explanation of how to control motorized shades compares these everyday control options.
Step 6: Test in daylight and through a complete viewing session
Evaluate the installation during bright conditions, not only after sunset. With the shades closed and interior lights lowered, inspect the top, sides, bottom, and any junctions between shades from the seating area.
Then run the full sequence: start the display, change sources, pause, adjust a shade manually, and end the session. Check that unrelated schedules do not reopen shades during a film or reverse a manual adjustment unexpectedly.
Listen to shade movement with the room quiet. The aim is to complete the transition before viewing begins, rather than introduce unnecessary movement during a quiet scene.
Frequently Asked Questions
Can one window provide filtered daylight and blackout?
Yes. A dual-shade arrangement can pair a light-filtering or solar layer with a separate blackout layer. It requires space for both rollers, and the blackout layer still needs appropriate edge treatment.
Are battery-powered shades suitable for a theater?
They can be, depending on the selected shade and control system. Battery power avoids a dedicated power connection at the window, but introduces charging or battery-replacement access. Wired power is worth planning during new construction, especially at difficult-to-reach openings.
Do blackout shades also soundproof the room?
Blackout describes light control, not sound isolation. Fabric may affect some reflected sound within a room, but blackout performance is not evidence of soundproofing. Acoustic design remains a separate part of theater planning.
Bring darkness and control together
A successful home theater shade plan combines the right fabric, complete edge detailing, discreet installation, and thoughtful AV programming. The result to design toward is simple: a room that transitions into viewing mode without making its technology the focus.