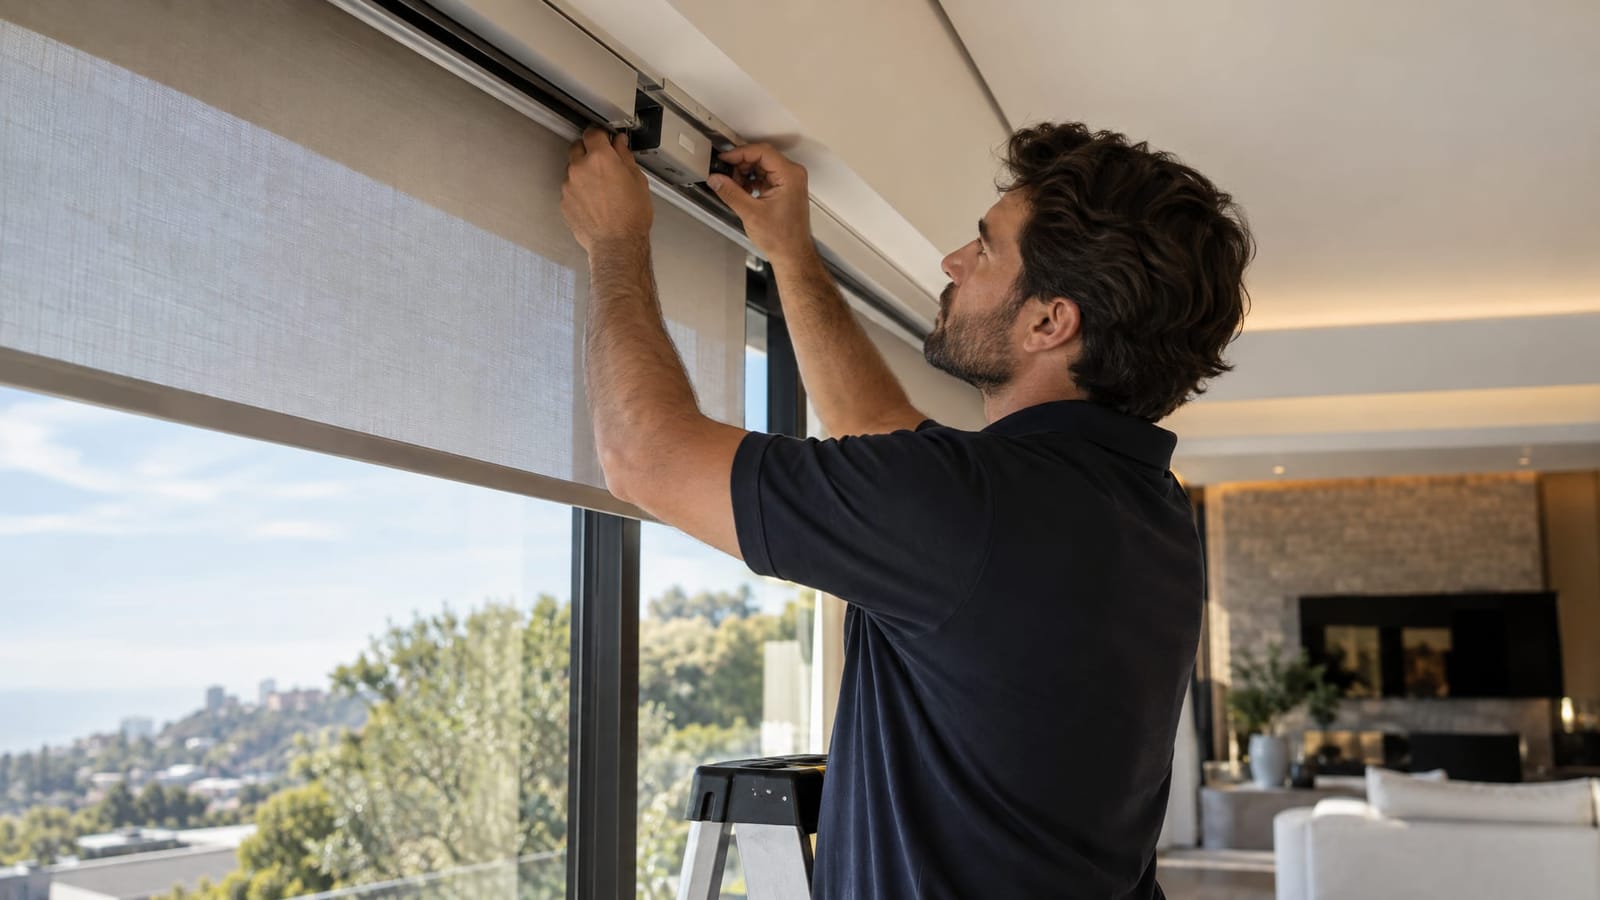
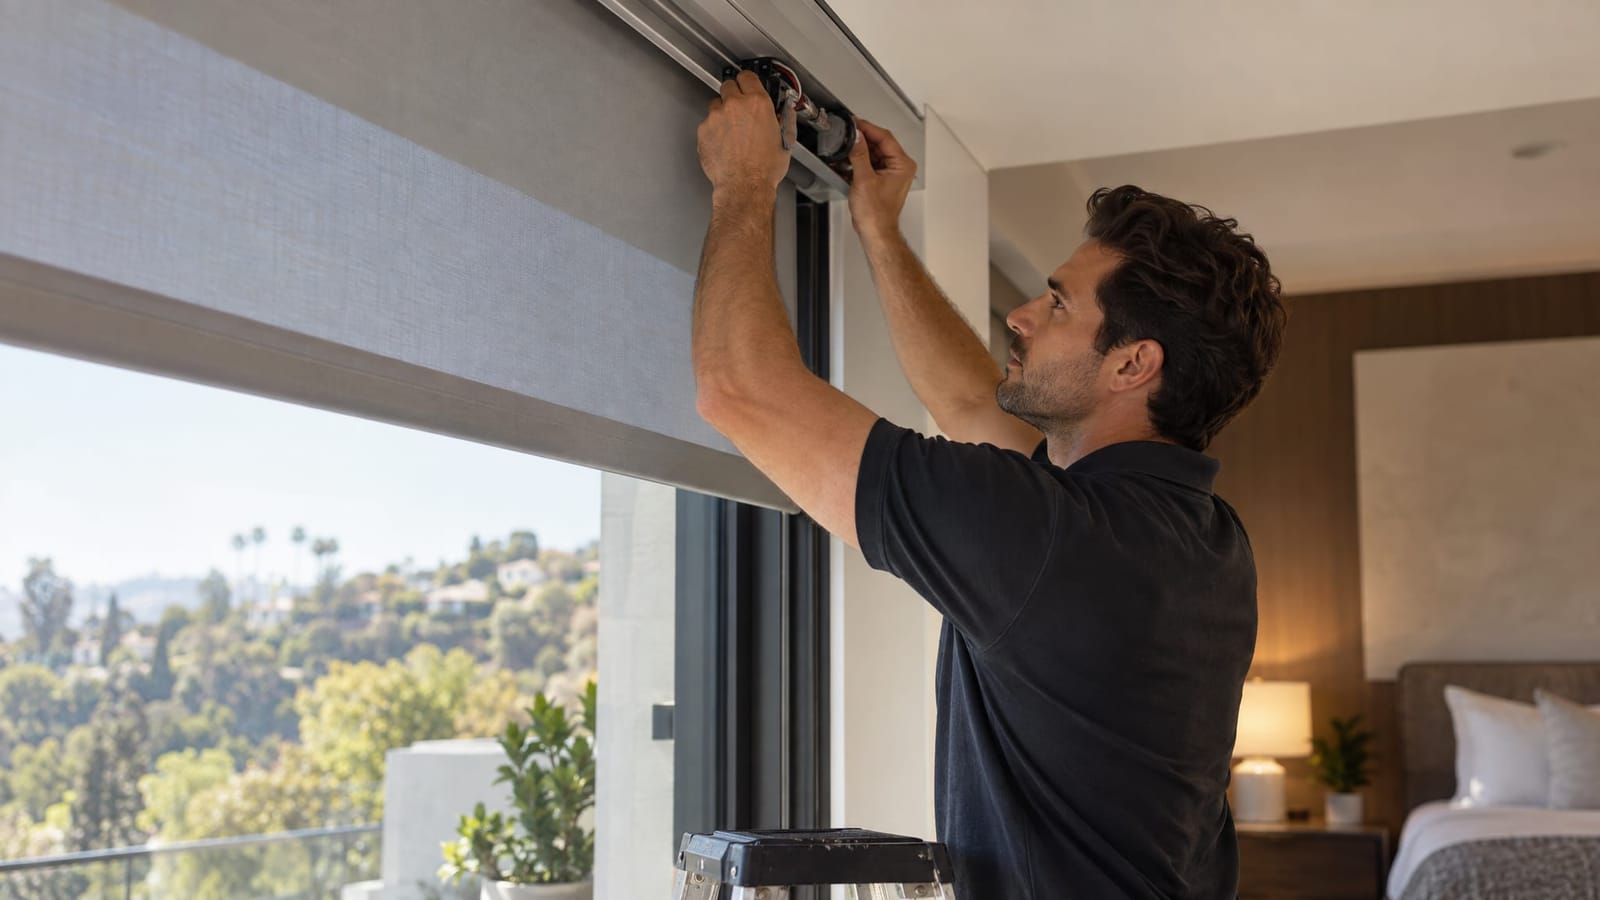
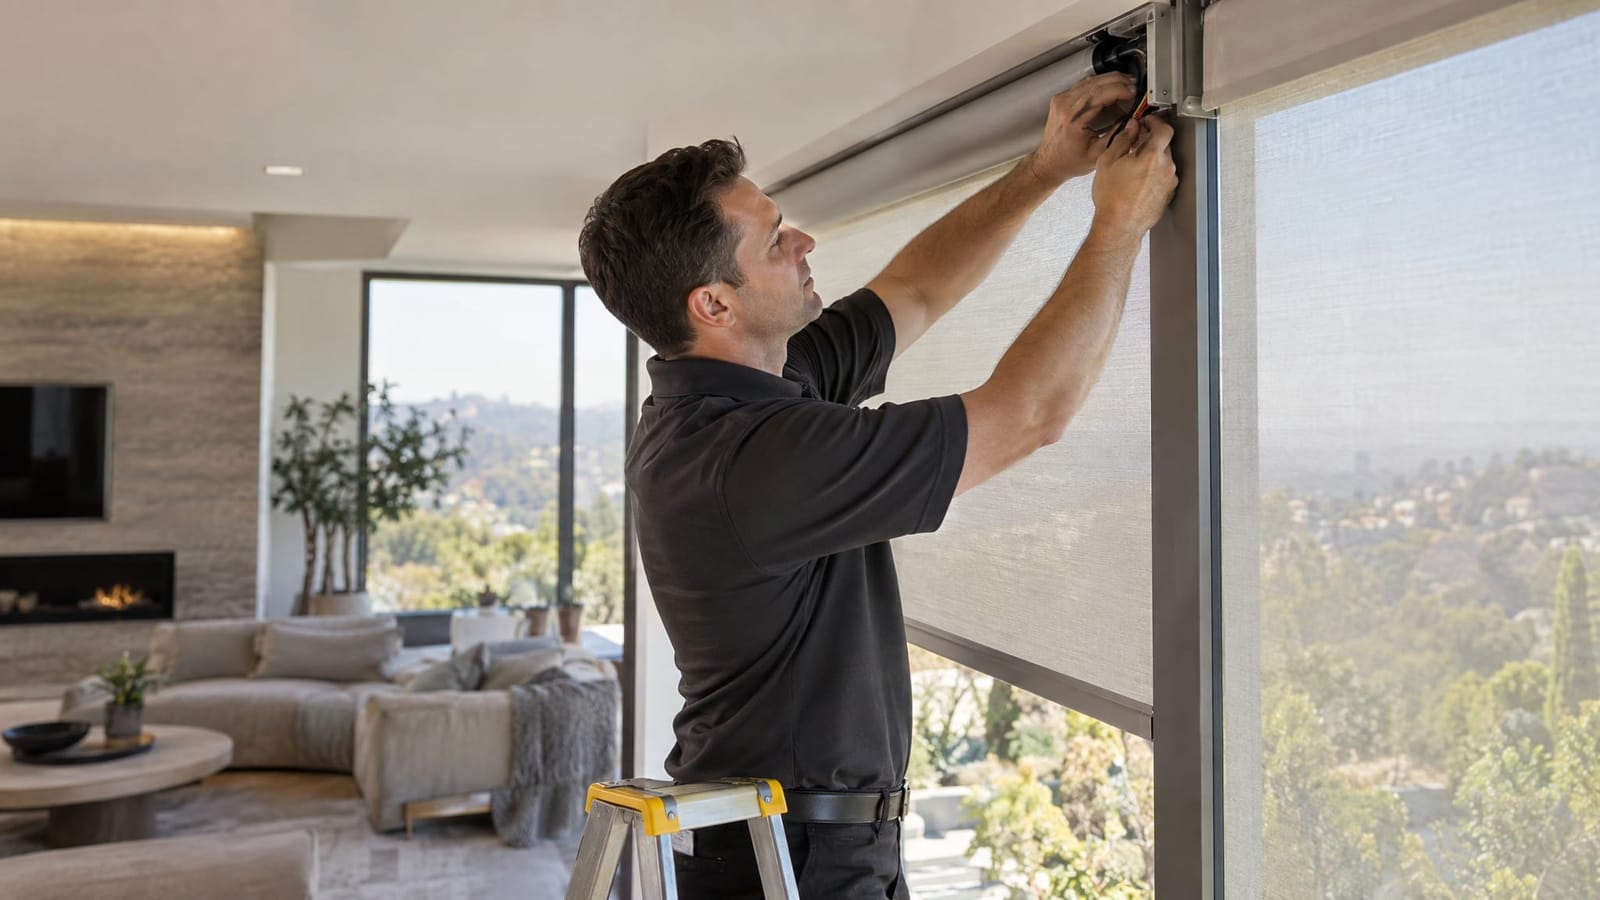
Motorized Shades for Large Windows and Floor-to-Ceiling Glass: Solving the Modern Home Challenge
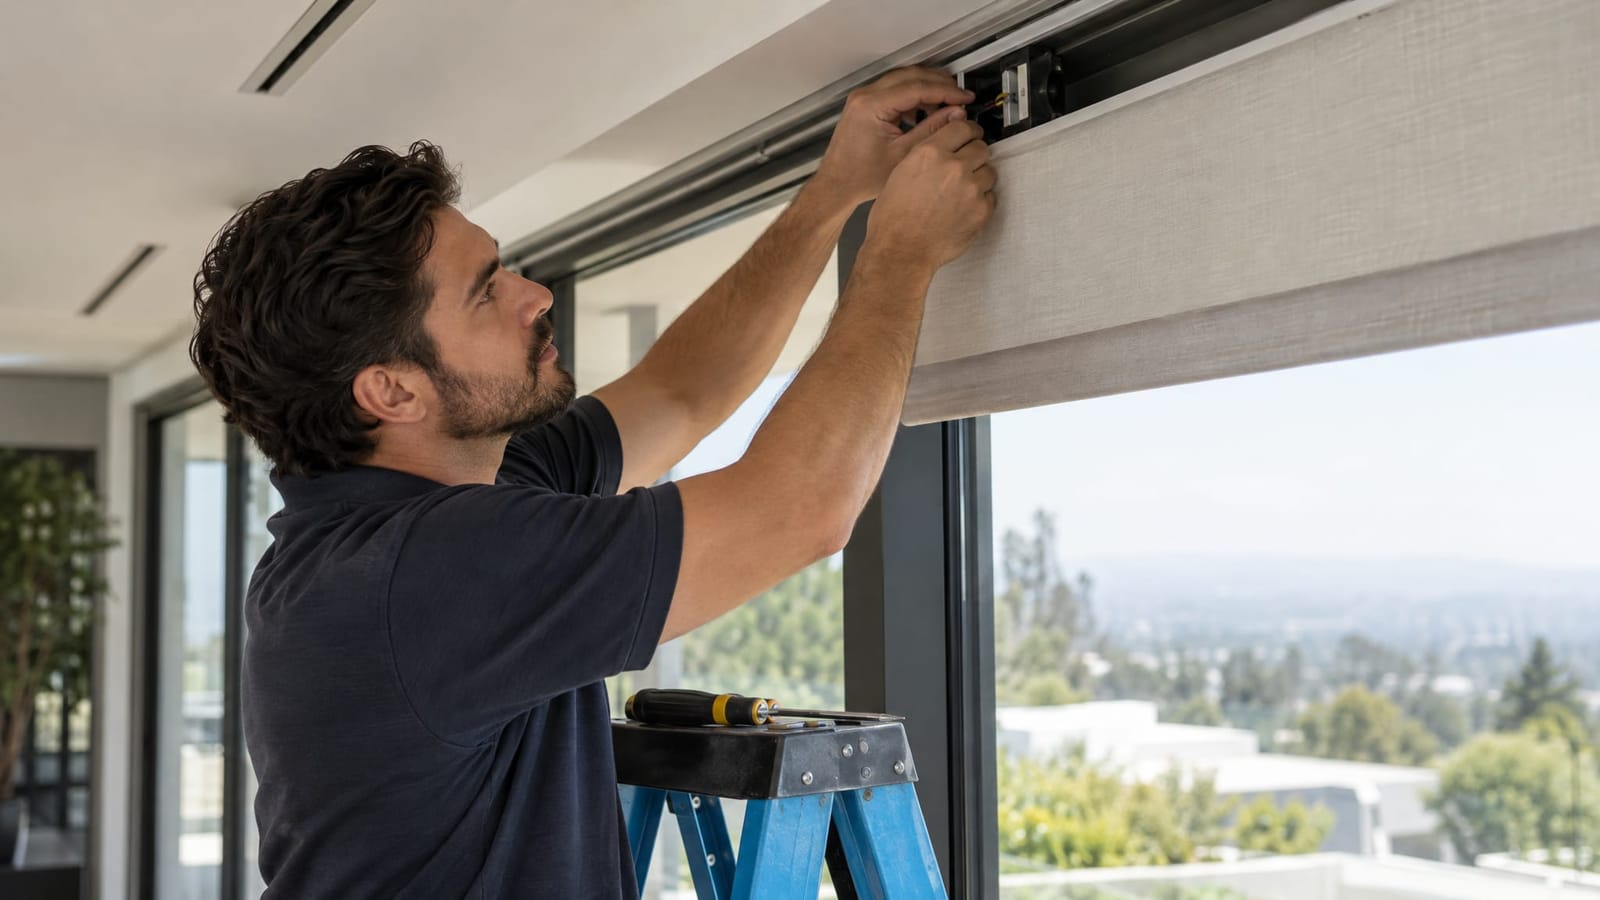
Motorized shades work well on large windows when the shade layout, fabric, power supply and controls are designed together. The answer is not always one oversized shade. For a wall of glass, several shades aligned with the window divisions and operated as a group can offer a more practical, visually disciplined solution.
The challenge is preserving what makes the architecture compelling: uninterrupted views, generous daylight and clean ceiling lines. In contemporary Los Angeles homes, that means planning not only how shades look when lowered, but also where they disappear, how they move around doors and furniture, and how they respond to daily life.
Here is how to approach the design, from the first window survey through installation and final programming.
1. Map the glass, sunlight and daily use
Begin with a window-by-window plan rather than treating every pane as the same condition. A fixed picture window, a sliding door and a double-height stairwell may share a facade, but each creates a different shading requirement.
- Identify the visual priority. Decide where preserving the view matters most and where stronger light control takes precedence.
- Separate fixed glass from access points. A frequently used terrace door needs independent operation so opening it does not require raising every shade.
- Note when glare occurs. Afternoon sun across a television or workstation calls for a different routine than morning light in a bedroom.
- Assess evening privacy. Consider sightlines from neighboring properties, terraces and other rooms, not just the street.
- Record physical obstacles. Door handles, furniture, window hardware and ceiling details can affect the shade’s travel path.
For tall or inaccessible windows, convenience becomes a practical design issue. Our comparison of motorized shades and manual window treatments explains the broader tradeoffs. With expansive glass, the key question is how to make regular adjustment easy enough to suit the room’s changing conditions.
2. Decide between one wide shade and multiple coordinated shades
A single shade provides an uninterrupted surface, but its suitability depends on the complete assembly. Width, drop, fabric weight, roller dimensions and the manufacturer’s permitted configurations all matter. Motor power alone does not determine whether a shade can cover a particular opening.
When one shade makes sense
A single shade can suit an opening without intermediate divisions, especially when a continuous fabric surface is central to the design. Before settling on it, review the product’s dimensional limits, available fabric widths and whether fabrication introduces seams.
Also consider the visual weight of the roller and enclosure. A wider or heavier assembly can require more space above the glass, affecting a proposed ceiling recess.
When dividing the span is more useful
Multiple shades allow separate control of different parts of the facade. Aligning their edges with mullions, the vertical window divisions, helps the layout follow the architecture rather than introduce an unrelated rhythm.
For example, a living room with fixed glass beside a sliding terrace door can use one control group for the entire wall while retaining a separate command for the door shade. That preserves access without exposing the whole room to direct light.
There is a tradeoff: adjacent shades have gaps between their fabric edges. Those gaps deserve particular attention in bedrooms and at glass corners. Review their positions in drawings rather than assuming several panels will create a continuous light barrier.
3. Choose fabric for both daylight and nighttime conditions
On floor-to-ceiling glass, fabric becomes a substantial part of the interior. Its appearance matters, but so does the experience of looking through it and living behind it.
View-preserving fabric versus stronger privacy
Open-weave solar fabrics filter daylight while retaining some outward visibility. Their openness describes how much of the weave is open, but it does not tell the whole story. Fabric color and the contrast between indoor and outdoor light also affect the view.
A fabric that feels private during the day may allow views inward when the room is illuminated at night. Compare samples at the actual window in both conditions, particularly where evening privacy matters.
Room darkening versus blackout
Blackout fabric blocks light through the material itself. It does not automatically eliminate light around the sides, top or bottom of the installed shade. Bedrooms and media rooms therefore need an assembly-level discussion, including edge treatment and mounting position.
Dual shades offer two fabric choices at the same window, such as a view-preserving layer for daytime and an opaque layer for evening. They also require more space for rollers, hardware and access. Resolve that tradeoff before the ceiling pocket is designed.
4. Select the motor and power strategy together
Motor selection starts with the shade dimensions, fabric and roller assembly. Control compatibility, operating sound and maintenance access come next. Choosing a motor solely because it works with a preferred app reverses that sequence.
Hardwired power for coordinated construction
Hardwired power is often a practical fit for new construction or substantial renovation because cable routes can be planned before finishes close. It also avoids routine battery charging at high or difficult-to-reach windows.
The design needs to account for more than a wire near the opening. Power-supply locations, access to connections and any required control cabling belong on the coordinated plans. Electrical connections and project-specific electrical requirements belong with the project’s licensed electrician.
Battery power for selected retrofit conditions
Battery-powered shades can reduce the need to open finished surfaces where a compatible system supports the required dimensions. The important tradeoff is future access: a charging point that is convenient at an ordinary window may be awkward above a double-height space.
Compare the proposed shade’s operating sound and movement as well as its appearance. A quiet bedroom and a lively entertaining space may call for different priorities, even when their windows look similar.
5. Design the pocket around the complete shade assembly
A recessed pocket can conceal the roller above the ceiling line, leaving the fabric to emerge through a discreet opening. The clean appearance depends on early coordination, not simply adding a recess after the ceiling design is complete.
The pocket needs to accommodate the selected hardware and the fabric when fully rolled up. Long drops create a larger roll than short drops using the same material, so a generic pocket detail is not a reliable starting point for every window.
- Coordinate dimensions. Establish clearance for the roller, brackets, fabric movement and any second shade.
- Align the fabric path. Position the shade so it clears handles, trim and other projections.
- Resolve nearby services. Check the pocket against lighting, air-conditioning outlets and curtain recesses.
- Preserve service access. Motors, connections and mounting hardware need an accessible maintenance route.
- Detail the raised position. Decide whether the bottom bar remains visible or sits within the recess.
In an existing home, a slim fascia or carefully detailed surface-mounted enclosure can be a more proportionate solution than reconstructing the ceiling. Concealment is valuable, but it is not the only route to a refined installation.
6. Create control groups that follow the way the room is used
Grouped control lets several shades respond to one command. It does not necessarily mean their bottom bars will travel in exact alignment. Where synchronized movement is part of the design intent, that requirement needs to inform system selection and programming.
Organize groups by purpose rather than putting every shade on a single command:
- Facade groups adjust windows receiving similar sunlight.
- Room groups simplify everyday use from a local keypad.
- Door controls preserve independent access to outdoor spaces.
- Whole-home scenes provide broader changes while retaining room-level overrides.
For example, an afternoon scene can lower selected west-facing shades while leaving sheltered windows open to the view. An evening scene can close privacy shades and adjust interior lighting together. The control interface can remain simple even when the underlying behavior is selective.
At Smart Homes Innovations, we integrate motorized shades with lighting control and home automation, tailoring the system to the household’s routines. Our article on integrating motorized shades with home automation and lighting explores those connections in more detail.
Schedules provide repeatable timing. Sensor-based behavior responds to measured conditions where the selected system supports it. Either approach benefits from straightforward manual control when the room is being used differently.
7. Coordinate installation and test the finished experience
Large-window installations bring architecture, interior finishes, electrical planning and automation together. A useful installation plan resolves their interfaces before fabrication rather than leaving them to be improvised on site.
The project sequence typically includes:
- Reviewing drawings and site conditions. Establish shade divisions, mounting details, power routes and access around tall glazing.
- Confirming fabrication dimensions. Account for finished opening sizes and the selected mounting method before ordering.
- Coordinating installation access. Plan how long assemblies reach the room and how work at tall windows fits around completed finishes.
- Setting travel limits and groups. Establish raised, lowered and intermediate positions, then organize controls around the agreed room functions.
- Testing complete scenes. Check individual shades, grouped commands, door access and interaction with lighting.
Final review is more revealing when it includes different daylight conditions. Look for glare at seating positions, unwanted evening sightlines, fabric interference and edge gaps. Confirm that the homeowner can pause movement, override a schedule and operate a single shade without navigating an elaborate sequence.
Related detail: when the glass opens onto an outdoor room
A pergola or covered terrace introduces a separate shading problem. Exterior screens face wind, weather and mounting conditions that differ from an interior roller shade. Indoor products are not interchangeable with exterior systems.
If the same living area extends outdoors, coordinate the two zones visually while treating their operation and product requirements separately. Our overview of exterior motorized shades and pergola screens for Southern California outdoor living addresses that distinction.
A complete design goes beyond the shade itself
The most useful final plan identifies each shade’s dimensions, fabric, mounting detail, power source and control group. It also explains how the assembly can be serviced. With those decisions resolved together, large-window shading can support the architecture without making everyday control feel complicated.